
Last updated November 15, 2026
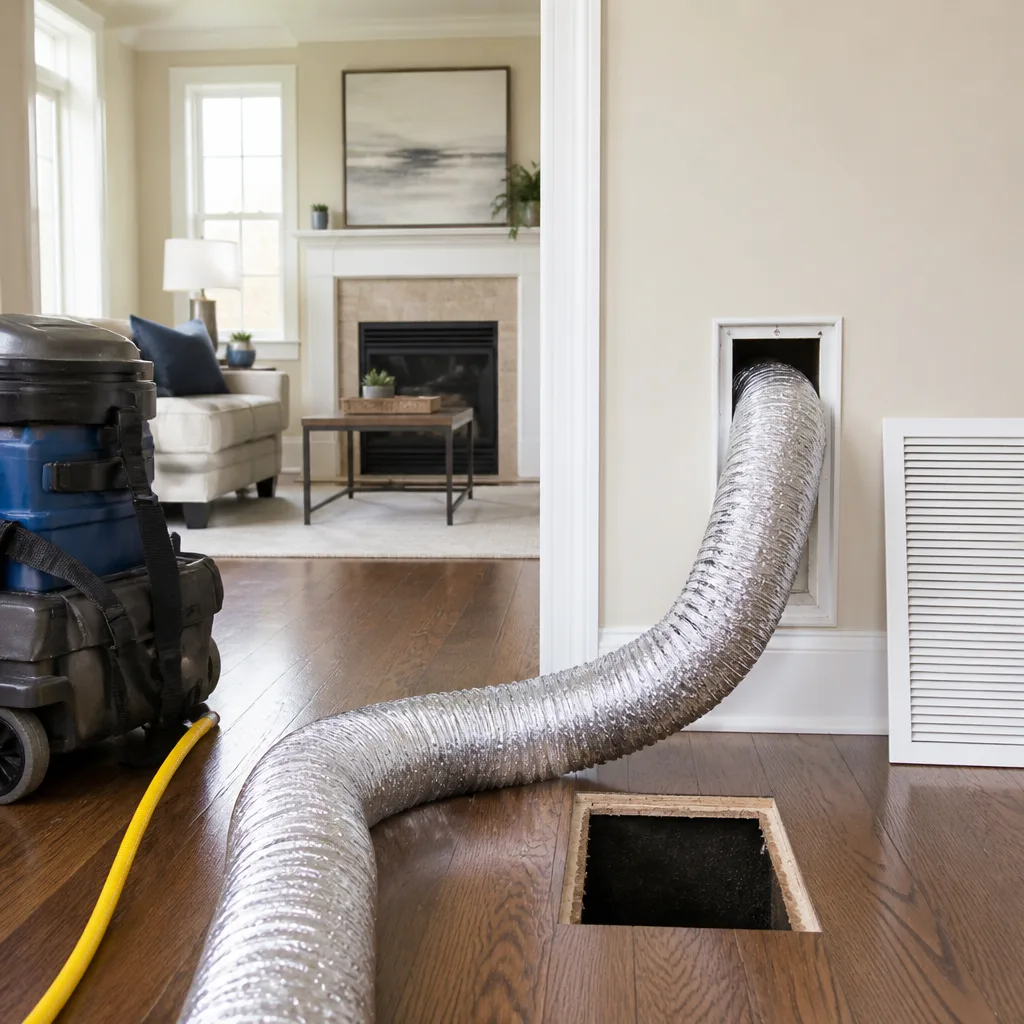 Whole-home duct cleaning
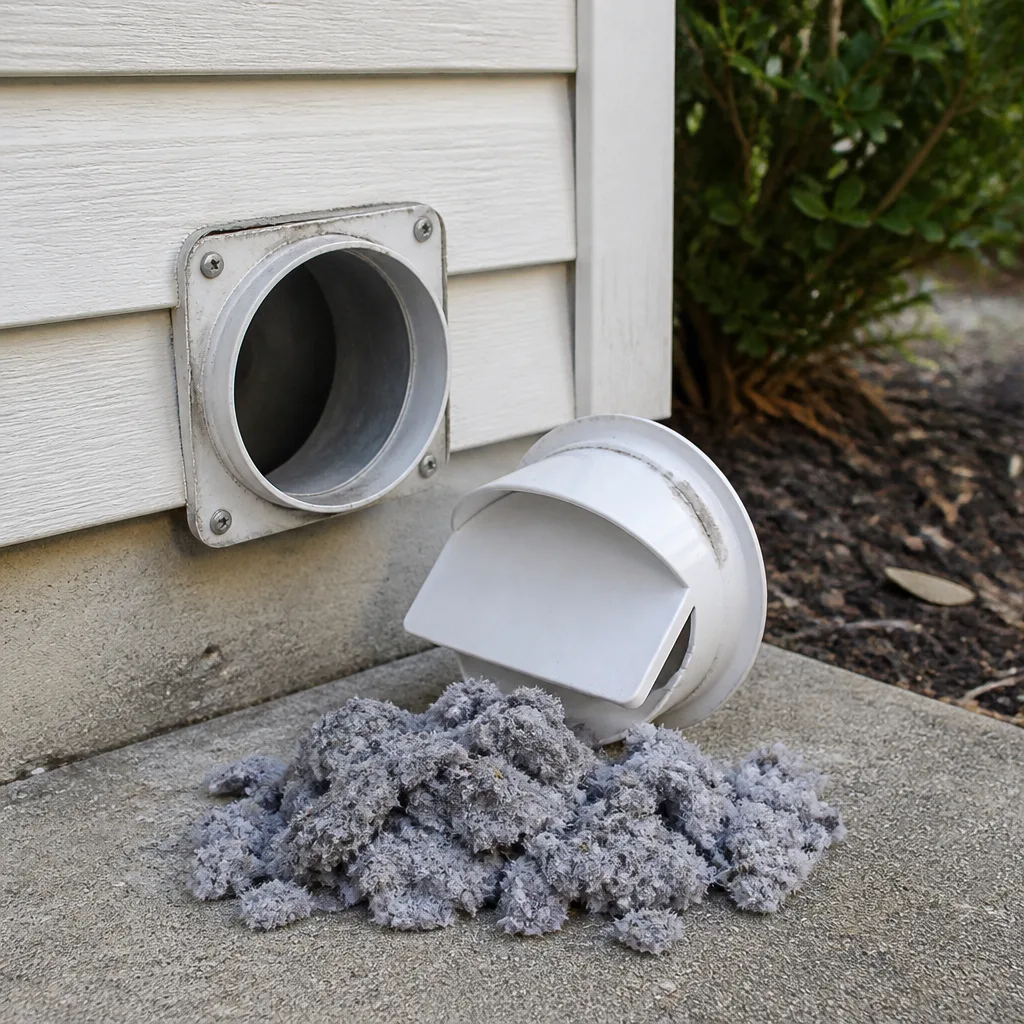 Dryer vent cleaning
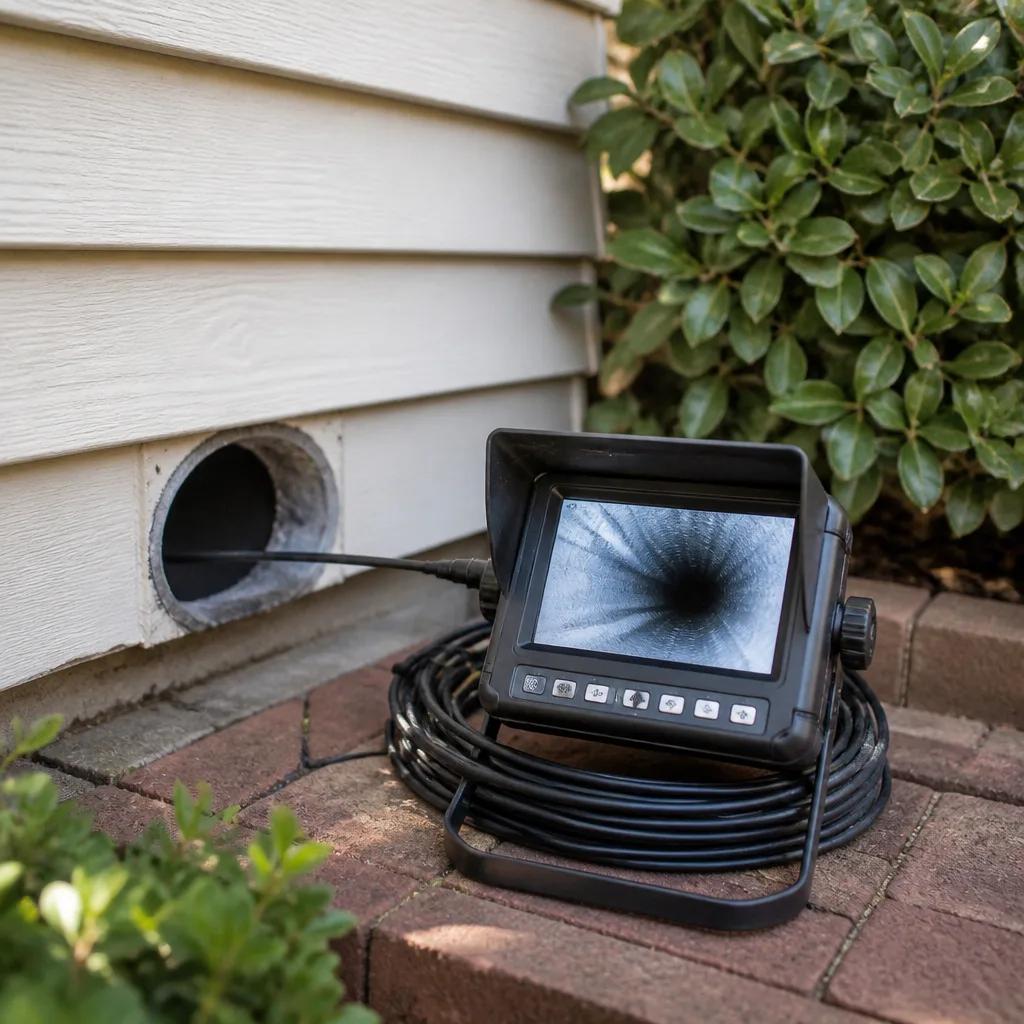 Camera inspection
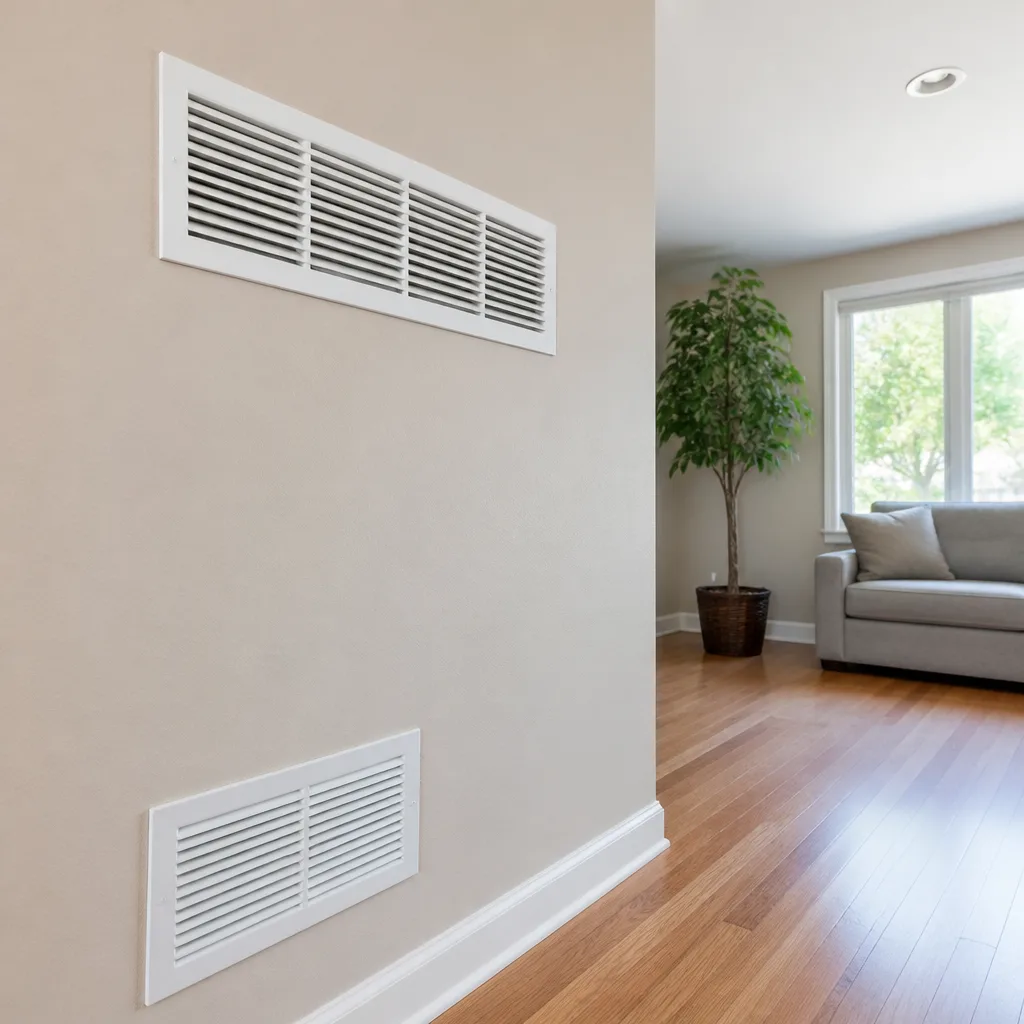 Sanitizing & deodorizing
Whole-system duct and dryer vent check with before-and-after photos - you see exactly what came out of your vents
That "$99 whole-house special" is a bait ad - the real number appears once they are in your hallway, or the "clean" is a shop-vac at the register. We photograph the inside of your ducts before and after instead.
Air Duct Cleaning Maintenance Schedule: What to Do and When
The most-quoted line in this trade is the EPA’s “clean as needed” guidance, and almost everyone reads it wrong. That sentence was never a maintenance schedule. It was a disclaimer, written because duct conditions vary too widely from house to house for a single calendar rule to be honest. Treating it like one is exactly why so many Tyler homeowners end up in one of two camps: paying for a cleaning every year whether the ducts need it or not, or waiting a decade and wondering why the returns look gray. This guide replaces the generic “every 3 to 5 years” default with a decision-based schedule, built on the variables that actually drive how fast a duct system in Tyler collects debris. You’ll learn how to set your own interval, read your filter as an early signal, log your system’s history, and know which tasks you can handle and which ones need a technician with a camera and real equipment.
Quick Answer
There is no single correct interval for air duct cleaning. Most Tyler homes land somewhere between every three and five years, but the right number for your house is set by pet load, system age, nearby construction, humidity, and what your filter shows you each month. Build a condition-based schedule instead of following a blanket calendar, and override it whenever a renovation, pest problem, flood, or HVAC replacement happens.
Styles & brands we work with
- Whole-home duct cleaning
- Dryer vent cleaning
- Camera inspection
- Sanitizing & deodorizing
Table of Contents
- Why the Generic 3-to-5-Year Rule Fails in Tyler
- The Condition Checklist: Set Your Own Cleaning Interval
- Your Filter Is a Leading Indicator: What 30 Days Tells You
- Annual Inspection: What You Can Check vs. What Needs a Technician
- Post-Event Triggers That Override Any Schedule
- How to Log Duct System History So You’re Not Guessing
- The Dryer Vent Schedule Is Separate (and More Urgent)
- Knowing the Difference Between Dirty and Damaged
Why the Generic 3-to-5-Year Rule Fails in Tyler
The “every three to five years” convention isn’t wrong so much as it’s incomplete. It describes the middle of a bell curve, and it says nothing about where any one house actually sits. A retired couple with no pets in a well-sealed ranch house is nowhere near the same schedule as a family with two shedding dogs and a home office that’s been remodeled twice.
Tyler adds a few local variables to that mix. East Texas humidity is the quiet one. It doesn’t just hang in the air during summer; it lives inside the return plenum and the last few feet of every run, where cooler air meets warm, damp attic air. That moisture makes dust cling and clump rather than blow through, so a system in Tyler can accumulate material that would slide right past a dryer system up north. The area’s tree pollen and spring dust are heavy contributors too. When you add new construction dust from the neighborhoods that have grown on the edges of Tyler over the last several years, you get a lot of homes whose ducts are working harder than their owners think.
Here’s the practical point: the generic rule is a placeholder until you learn your house’s real rate. That takes one full filter cycle, and once you’ve measured it you can throw the calendar away.
The Condition Checklist: Set Your Own Cleaning Interval
This is the core of the guide. Answer each question honestly, tally the risk, and the interval falls out of the answers rather than out of a rule of thumb.
Risk factors that push your interval shorter
- Pets in the home: each shedding animal shifts the schedule meaningfully shorter. Two or more dogs with undercoat means you’re on the front end of the range, not the back.
- System age over ten years with no documented cleaning: assume accumulation and verify with a camera inspection before deciding anything.
- Recent renovation in or adjacent to the home: drywall dust, insulation fibers, and sawdust get pulled into returns for weeks. This always triggers an off-cycle cleaning.
- Return grilles that darken within a month of cleaning: the system is loading fast. That tells you the ducts are loading at the same rate.
- Visible dust plumes from supply registers on startup: debris is loose and airborne, and it’s being delivered into the room.
- Allergy symptoms that cluster in specific rooms: a strong indicator that one branch line is dirtier than the rest.
- Smokers, wood stoves, or a fireplace in regular use: fine particulates coat duct walls differently than household dust.
Factors that let you extend
- No pets, few occupants, and a filter that stays clean for its full rated life.
- A documented professional cleaning within the last few years.
- A duct system that was properly sealed at installation and hasn’t been opened for repairs.
- Mild, controlled humidity inside the home (a functioning dehumidifier or well-set thermostat fan schedule in summer).
Turning the tally into a schedule
- Count your risk factors. Zero to one factor: inspect yearly, clean at the longer end (roughly every four to five years). Two or three factors: clean around every three years. Four or more: plan for every two to three years, and reassess after each cleaning.
- Record it in a log, along with the date and what the technician found. The log is what makes the next decision data-driven rather than a guess.
- Re-tally after any major life change: a new pet, a new baby, a renovation, a move-in. Each one resets the clock.
- Trust the camera over the calendar. A short video from inside the main trunk settles the question in a way no schedule can.
For a full picture of what a professional cleaning includes in this market, see our page on air duct cleaning.
Your Filter Is a Leading Indicator: What 30 Days Tells You
You don’t need to see inside your ducts to know how fast they’re loading. Your filter already tells you, and it tells you every thirty days if you look.
A filter that loads to grey within a month in a home with a standard pleated filter and a 90-day rating means the system is pulling far more particulate than the filter’s life assumes. That’s a signal that the ducts are collecting the overflow. A filter that still looks nearly white at day thirty tells you the fundamental load is low, and your cleaning interval can stretch. In between, you’re in the middle of the range.
What to check monthly
- Filter color across the full face. An even loading is normal. A dark patch in one corner suggests a bypass around the filter frame or a leak at the return collar.
- Filter bowing or collapse. A filter pulled into the blower is a sign of high static pressure, often from a clogged coil or undersized return duct. That’s a repair question, not a cleaning question, but it belongs on the log.
- Debris on the filter’s downstream face: if dust is showing up on the clean side, it’s bypassing the filter entirely and heading straight to the ducts.
Replacement cadence
Follow the filter manufacturer’s rated interval as your baseline, but shorten it whenever the visual check says so. A home in Tyler during heavy pollen season may need a filter change twice as often as the box suggests. If your system uses a media cabinet rather than a standard slot, some installations pair with Honeywell or Aprilaire filter systems that display filter life electronically. If yours does, check what it’s telling you against what you actually see. If your system uses a standard filter slot, keep a spare on hand and write the date on the filter edge each time you swap it. That written date is the first line item in your log.
Annual Inspection: What You Can Check vs. What Needs a Technician
A yearly walk-through of your own system catches most developing problems early, and the tasks you can do safely yourself are the ones that don’t involve opening the system or reaching into it. Here’s the split.
Tasks a homeowner can and should do
- Remove and inspect every supply and return grille you can see. Most have thumb screws or friction clips. Clean the grille face with a damp cloth and a mild cleaner, dry it, and put it back.
- Look inside the register boot with a flashlight. A clear, flat surface with a light dust film is normal. Visible debris, a dark coating, or build-up on the vanes is a signal to schedule a professional inspection.
- Check that all registers are open and unobstructed. Furniture, rugs, and closed dampers all unbalance airflow, and unbalanced airflow lets debris settle in the quieter branches.
- Look for gaps at the boots and grilles. Small cracks at the drywall seam are normal settlement. Larger gaps pull attic or wall cavity air into the system.
- Smell the air at a few registers after the system has run for a while. Musty or damp odors mean moisture, and moisture means something needs inspecting.
Tasks that need a technician
- Camera inspection of the main trunk and branch lines. This is the only way to actually see what’s in the ducts. We use Rotobrush and Nikro systems, both professional-grade equipment, and the camera gives an honest picture before any cleaning begins.
- Measuring airflow and static pressure at the coil and plenum to confirm the system is moving the air it should.
- Testing for duct leakage beyond what a visual check of the boots can find.
- Inspecting the coil and the air handler interior, where a lot of the accumulation actually lives and where homeowner access isn’t safe.
- Any work with negative pressure or cleaning equipment inside the duct system, because that equipment has to be sized and set up correctly to avoid blowing contamination into rooms.
Every inspection should produce a short written summary. What was found, what was recommended, and what the camera saw. That summary goes straight into your log.
Post-Event Triggers That Override Any Schedule
A schedule is a plan, not a promise. When certain events happen, the schedule resets, and cleaning or inspection happens at that moment regardless of what the calendar says.
Events that trigger a professional inspection
- Renovation, remodeling, or a major drywall repair. Drywall dust and insulation fibers get pulled into returns during the entire project. Wait until the project is finished and the final dust has settled, then inspect.
- HVAC system replacement. When the air handler or coil is replaced, the duct system is exposed. That’s the moment to clean before the new equipment starts pulling through a dirty system.
- Pest intrusion. Rodents and insects leave droppings, nesting material, and sometimes carcasses inside ducts. This is a contamination issue, and it needs professional handling with proper containment.
- Flood or water intrusion that reached the ductwork. Moisture in ducts is a genuine health concern. Don’t run the system until it’s been inspected and dried. Abatement Technologies equipment and Guardsman protection products exist precisely for contamination control on jobs like this.
- Roof or attic work that disturbed insulation. If insulation has blown or been pulled back near the air handler or duct runs, assume some of it entered the system.
- A new furnace filter installed after a long neglect period. If the old filter was completely saturated, the system ran unrestricted for a long time, and the ducts took the load.
Each of these events goes into your log with the date and what was done. Over a few years, that log becomes the most useful document you own regarding the home’s duct system, and it makes any future maintenance decision straightforward. For property managers working across multiple homes in East Texas, it’s the difference between guessing and knowing.
How to Log Duct System History So You’re Not Guessing
Almost every homeowner we talk to who’s unsure about their ducts is unsure because there’s no record. A working log takes about five minutes a year to keep and saves you from repeating the wrong decision.
What the log should contain
- Date of each cleaning or inspection, and which company performed it.
- Filter change dates, written on the filter edge and copied into the log. If you use a media cabinet with an electronic indicator, record the date you reset it.
- Findings from each inspection: what the camera saw, what was cleaned, what was repaired, and any recommendations you declined.
- Repair history: any sealed joints, replaced boots, or branch repairs. These tell you what to expect next.
- Post-event notes: renovation, pest, water, equipment replacement. Each entry updates the risk tally.
- Photographs. A photo of the filter at change time, and before-and-after photos of the ducts if the technician provides them, put everything in context.
How to keep it
A simple approach works: a sheet on the inside of the air handler cabinet door (if local setup allows) plus a note in the home file. Digital is fine too; a phone note titled with the address and system location does the job. What matters is that the date of the last cleaning and what was found are written down somewhere you’ll find them again. When a technician arrives, the log answers most of the questions before they’re asked, which means the visit starts with the work and not the history lesson. Our Duct Cleaning Tyler team writes a summary after every job for exactly this reason.
The Dryer Vent Schedule Is Separate (and More Urgent)
The duct system that conditions your home and the vent that exhausts your dryer are not the same system, and they shouldn’t share a schedule. The dryer vent is a fire-safety issue first. Lint is highly flammable, it accumulates quickly in the vent run, and a blocked vent is one of the leading causes of residential house fires in this country. It’s not a maintenance line item to get to when it’s convenient.
A schedule that reflects the real risk
- Inspect the vent run at least annually. Check the outside flap for lint accumulation and see whether the flap moves freely when the dryer is running.
- Clean the vent run based on household load. A household running several loads a week needs it more often than one doing a couple of weekend loads.
- Clear the transition duct behind the dryer more frequently. This is the shortest section and the most common clog point.
- Inspect immediately if clothes take longer than usual to dry, the dryer runs hot to the touch, or the outdoor flap barely moves.
We treat dryer vent cleaning as its own service for that reason. It’s not an add-on to duct cleaning; it’s a safety inspection with its own interval and its own set of warning signs.
Knowing the Difference Between Dirty and Damaged
Cleaning and repair are two different jobs, and a lot of homeowners don’t discover the difference until a cleaner shows up, runs a brush, and then explains that the ductwork itself needs fixing. The best way to avoid that is to define the terms clearly up front.
Signs your system is dirty
- Visible dust plumes from supply registers on startup.
- A filter that loads fast and darkens unevenly.
- A thin, even grey film inside regrilles that returns within weeks of cleaning.
- Musty smells that get stronger as the system runs.
Signs your system is damaged
- Disconnected or torn flexible duct in the attic. This is common and often undetected. A disconnected run pours conditioned air into the attic and pulls attic air into the home.
- Crushed or kinked branch runs. A crushed flex duct restricts airflow to the rooms it serves and lets dust settle in the quiet section.
- Separated joints at boots or plenums. These lead to pressure loss and contamination.
- Loose insulation liner inside the duct. A liner that’s coming apart should be addressed by a repair technician, not just cleaned around.
- A hard, dark buildup that doesn’t lift with standard cleaning. That’s a sign the contamination has been there long enough to bond to the duct wall.
This is where the difference between a clean-only provider and a company that also handles repairs matters. We don’t just clean; we repair what we find. Our technicians have up to 14 years of experience, and our Air Duct Repair service exists so a homeowner isn’t left searching for a second contractor after the first company’s brush reveals a problem it can’t fix. For residents of Tyler, having cleaning and repair under one call means the system gets evaluated and serviced in a single relationship instead of a handoff mid-job.
Common Mistakes to Avoid
- Following the “every five years” rule without checking your own conditions. A home with two dogs and a recent remodel may need a cleaning every two years, while a well-sealed home with no pets can go well past five. The rule is a starting point, not a schedule.
- Hiring a low-bid cleaner who can’t repair what they find. A brush-only crew that finds a disconnected run will often just report it and leave. Then you’re calling a second contractor for the repair, and the cost goes up.
- Cleaning the ducts and ignoring the dryer vent. They’re separate systems with separate risks. The dryer vent is the fire-safety one, and it’s too often the one that gets skipped.
- Skipping the filter check during the humid months. East Texas humidity makes filter loading happen faster than a mild-weather schedule assumes. Checking only at the start of summer misses the peak.
- Cleaning during or immediately after a renovation. If dust is still falling, cleaning finishes before the dust settles. Wait until the project is truly finished.
- Not keeping a log. Without a written record, every decision becomes a guess, and the next technician has no baseline to compare against.
- Assuming a certified or listed product name means a reputable job. The equipment brand matters, but the setup, containment, and negative pressure control matter just as much. Ask what equipment will be used and how containment will work before work starts.
See the difference
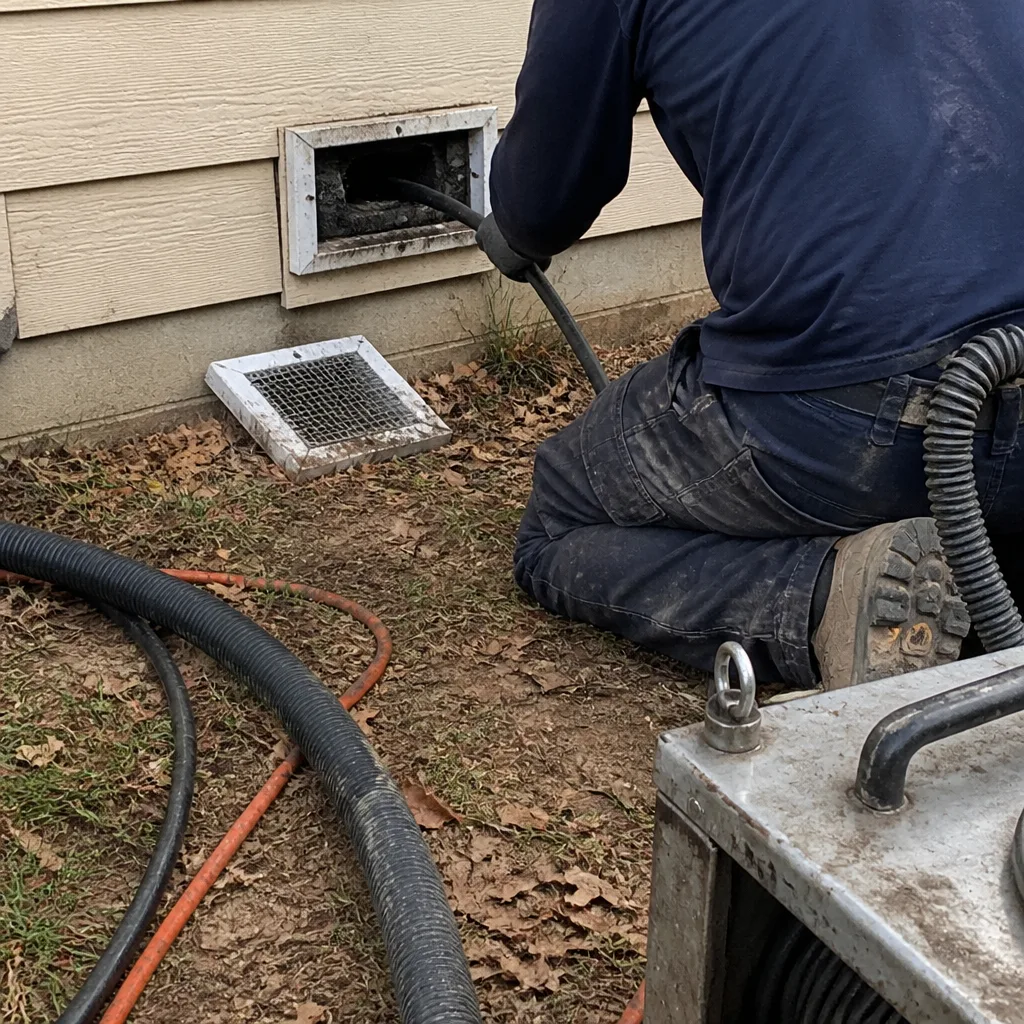 Before
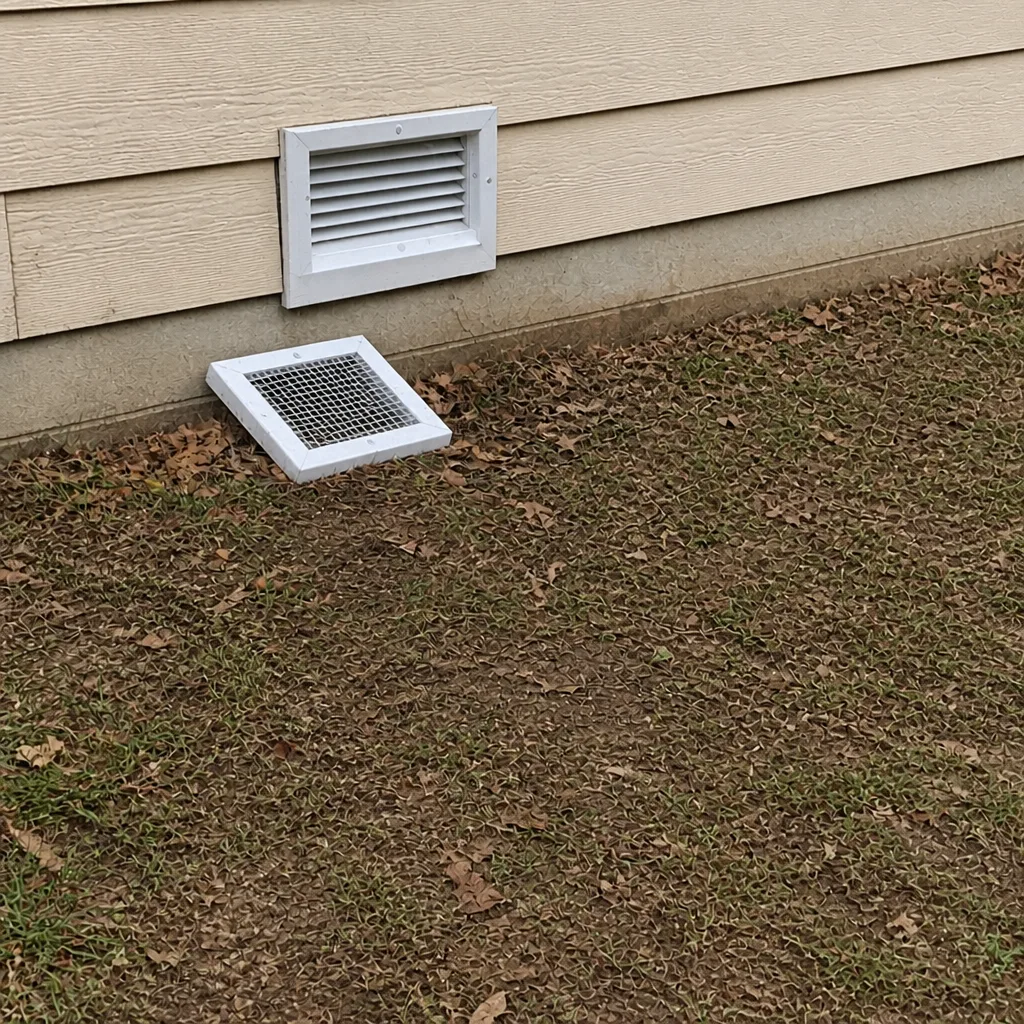 After
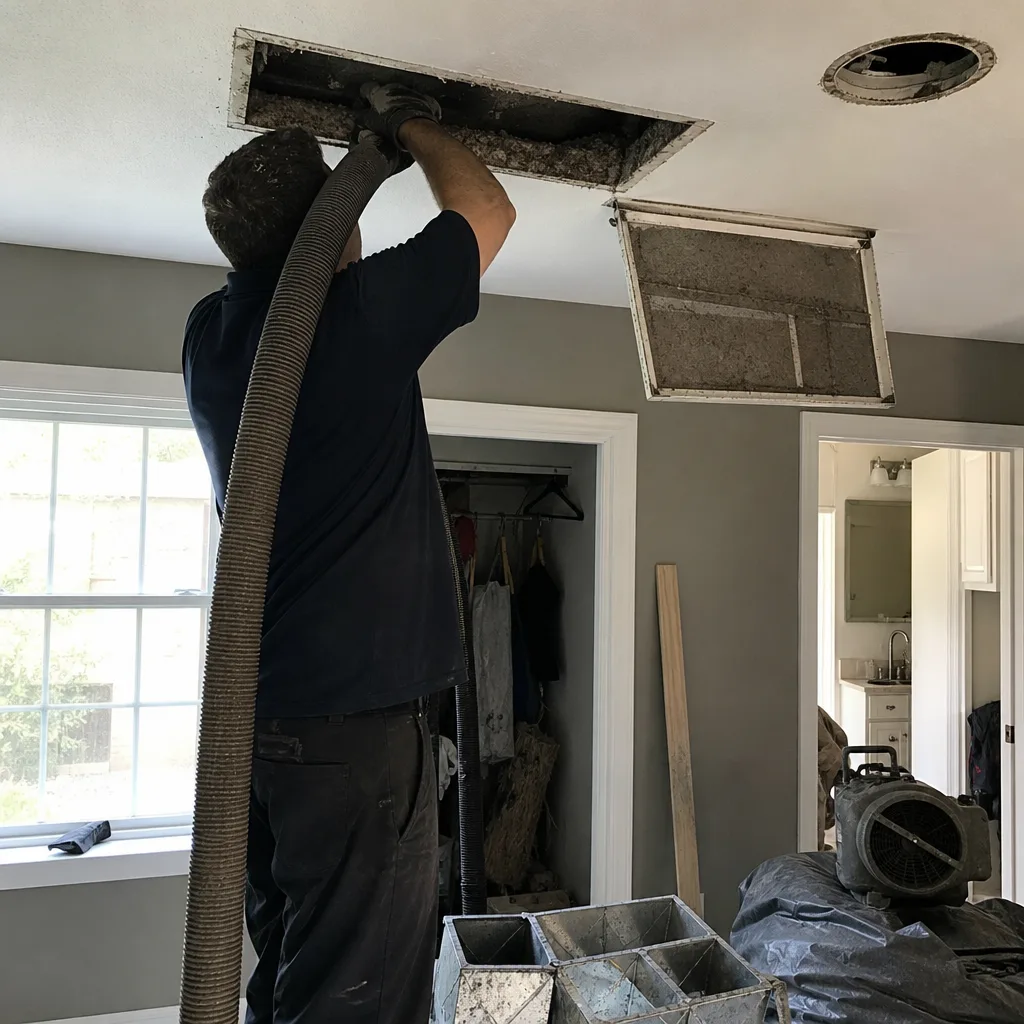 Before
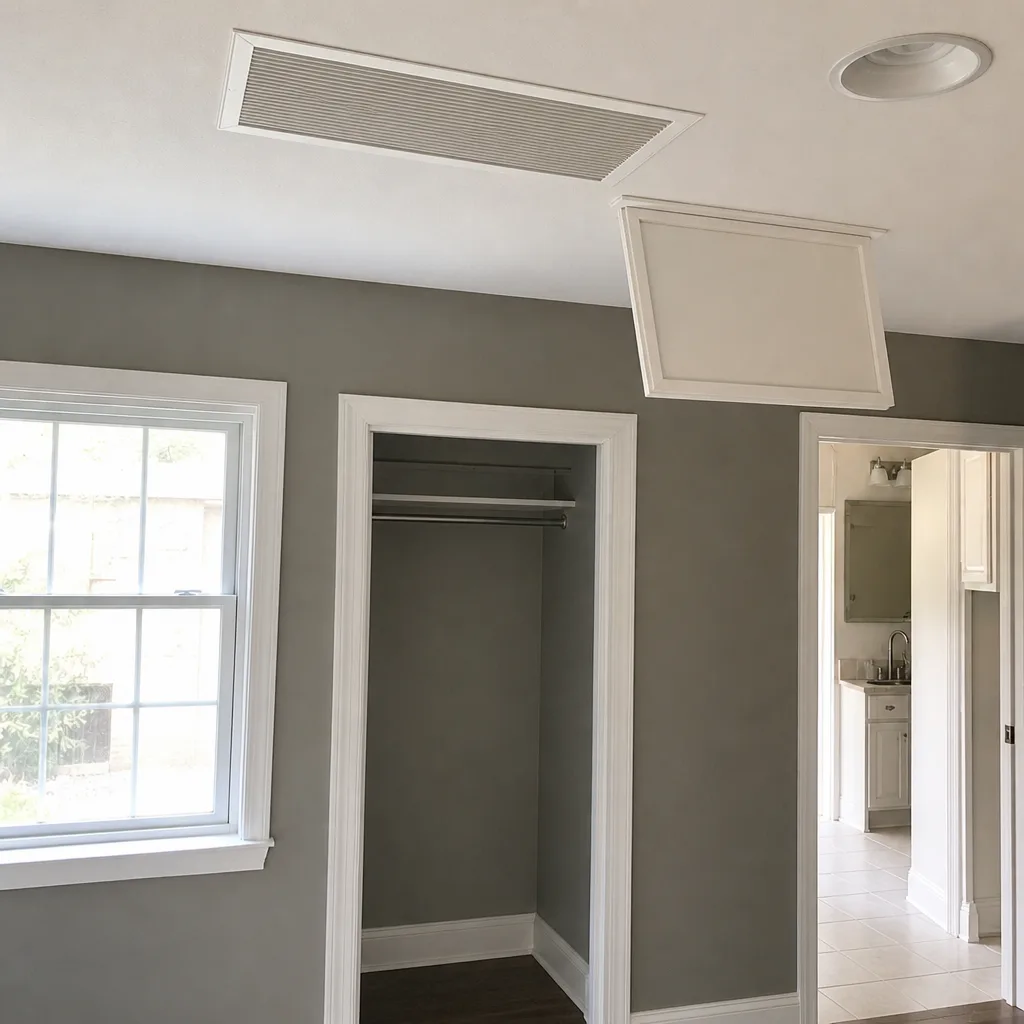 After
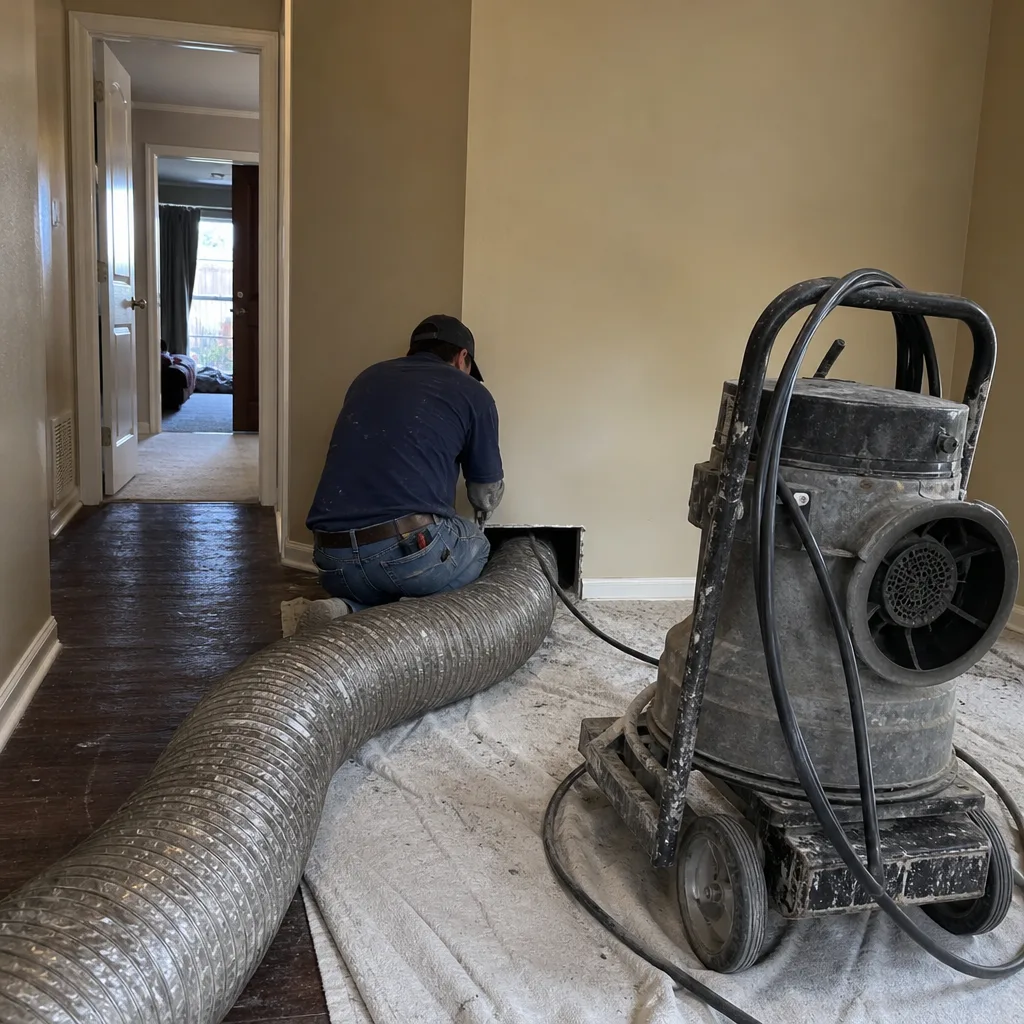 Before
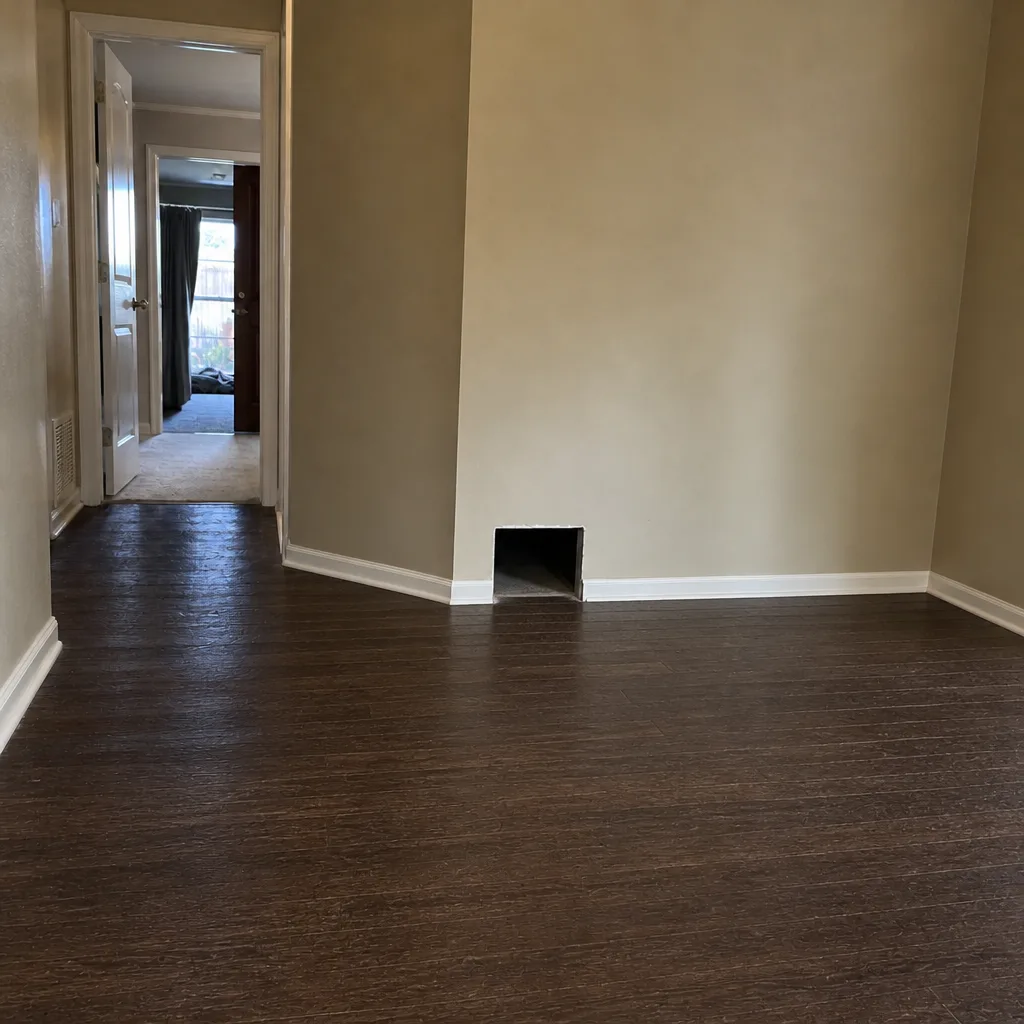 After
When to Call a Professional
Some calls are routine and some aren’t. A routine call is your scheduled inspection or cleaning. A necessary call is whenever one of these is true: you can see plumes from the supply registers, you smell mustiness that gets stronger with the system running, your filter loads within a week or two, you’ve just finished a renovation or HVAC replacement, you’ve had a pest problem, you’ve had water reach the ductwork, or the dryer is taking noticeably longer to dry clothes. Each of these means something is happening inside the system that the calendar won’t catch. Duct Cleaning Tyler offers free estimates in Tyler. Call (877) 610-4987. We answer 24/7. Fast dispatch from 7am to 7pm, Sunday through Friday, and closed Saturday. The written estimate sets the final price before any work starts.
Frequently Asked Questions
Most Tyler homes fall between every three and five years, but the right number depends on your conditions, not a rule. Count your risk factors: pets, system age, recent construction, humidity control, and how fast your filter loads. A home with two shed-heavy pets and a recent remodel should plan closer to every two to three years; a well-sealed home with no pets can stretch well beyond five. Call (877) 610-4987 for an exact quote, because a camera inspection settles it faster than any estimate over the phone.
No, it isn’t a schedule. It was written as a disclaimer because duct conditions vary too widely for one interval to be honest, and it deliberately places the decision in the hands of the homeowner and a professional inspection. The practical translation is a condition-based schedule, which is what this guide lays out.
Nothing dramatic happens on day one, but the accumulation compounds. Dirtier ducts load the filter faster, draw more current on the blower, and let dust and allergens recirculate through the rooms. What starts as a cleaning job can become a repair job if the debris bonds to the duct wall or the system’s static pressure causes a flex run to collapse. Call (877) 610-4987 for an exact quote if you’re unsure where your system stands.
Inspect the vent run at least once a year, and clean it on a household-load basis. Higher weekly dryer use means more frequent cleaning. Beyond the schedule, inspect immediately if clothes take longer to dry, the dryer runs hot, or the outdoor flap barely moves when the dryer is on. Call (877) 610-4987 for an exact quote; this is the safety service we take most seriously.
A cleaning removes accumulated debris from the system. A repair visit fixes the ductwork itself: disconnected runs, crushed sections, separated joints, and damaged liners. Our technicians can find and fix these on the same visit, which is why we offer Air Duct Repair as a named service and not an add-on. Call (877) 610-4987 for an exact quote.
Professional-grade equipment, sized for the job, with containment and negative pressure control. We run Rotobrush and Nikro systems, both recognized professional-grade equipment in the trade, and we work with Honeywell, Aprilaire, and Abatement Technologies product lines for air quality systems and contamination control. Consumer vacuums aren’t a substitute, and neither are generic truck-mount rigs set up without containment. Call (877) 610-4987 for an exact quote and ask what will be used on your system.
The Bottom Line
Your duct system needs a schedule built from your conditions, not a calendar that assumes every house is average. Count your risk factors, watch your filter as a monthly leading indicator, keep a log of every inspection, cleaning, and repair, and treat renovation, pest, water, and HVAC replacement as automatic triggers. Separate the dryer vent entirely, because it’s a safety service with its own schedule. Then trust the camera over the rule of thumb, and hire someone who can clean what’s dirty and repair what’s damaged. Call (877) 610-4987 for a free estimate. We answer 24/7. Fast dispatch from 7am to 7pm, Sunday through Friday. Our technicians have up to 14 years of experience, and we’ll give you before-and-after photos so you know the work was actually done.
Written by the team at Duct Cleaning Tyler.